Timetable
The timetable is built class by class and period by period, in a visual grid: one row per shift (time slot), one column per day. Accessible from Academic Management → Timetable, the page has two tabs: Designer (the grid) and Shifts (the day's time slots).
Before you start. You need (1) periods, (2) shifts (the Shifts tab, see below) and (3) subjects assigned to the class, because only subjects already assigned to the class can be placed in the grid. Without assignments, the page shows "No subjects are assigned to this class. Create the assignments first."
Open a class's timetable
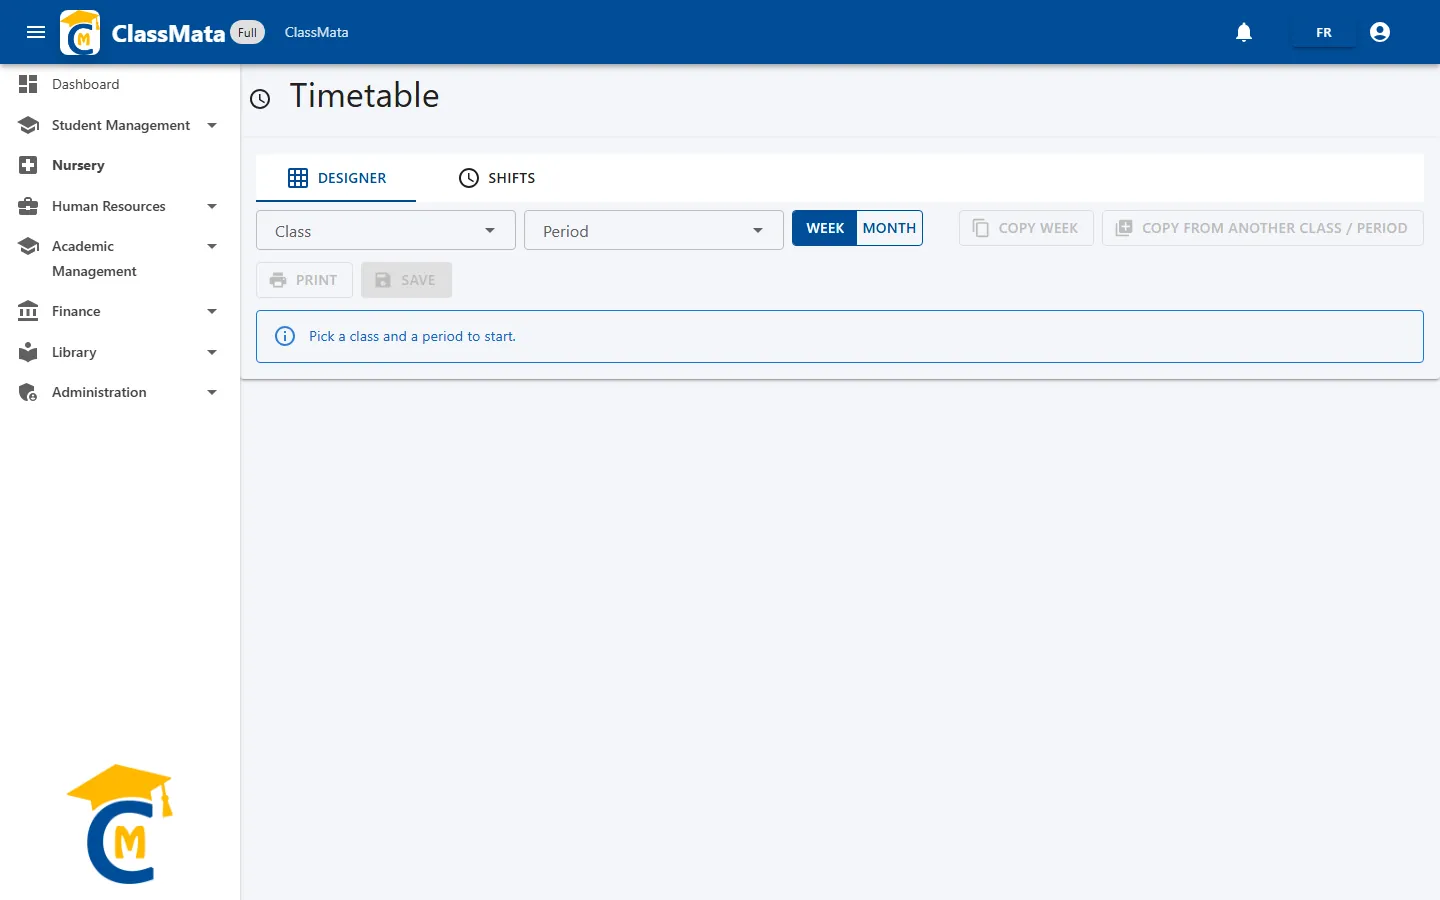
Choose a Class and a Period: the grid appears. As long as one of them is missing, a message asks you to select them.
The week grid
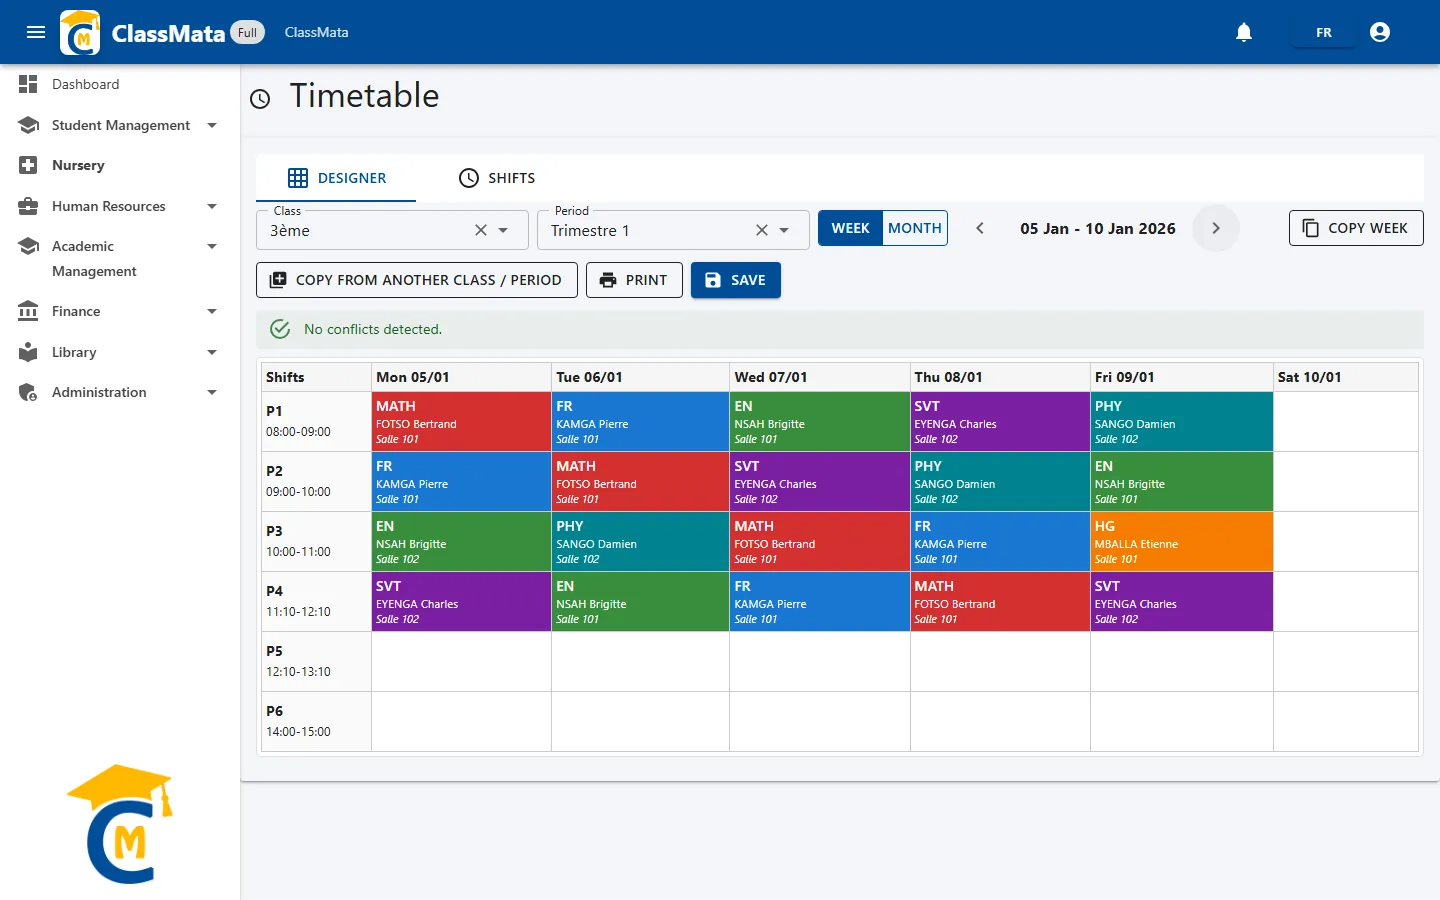
- Each lesson cell shows the subject code, the teacher and the room, in the subject's colour.
- The ‹ and › arrows next to the date range (for example "05 Jan - 10 Jan 2026") change week; a week runs from Monday to Saturday.
- The green No conflicts detected. banner confirms that nobody is placed in two places at once (see below).
- Cells outside the period's dates cannot be edited.
Place or change a lesson
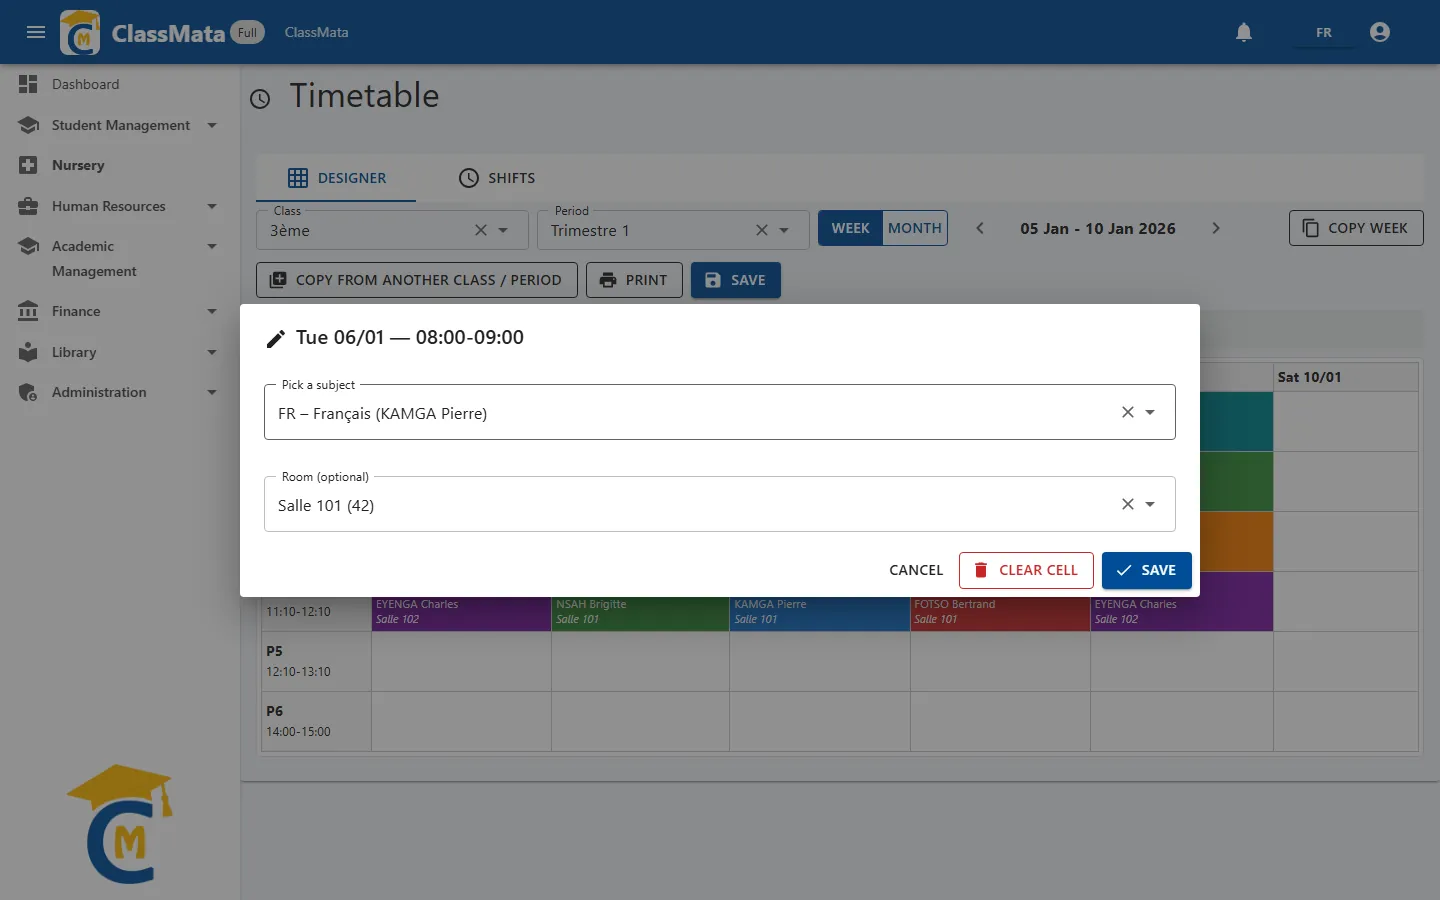
Click a cell: a window opens with the day and the shift as its title.
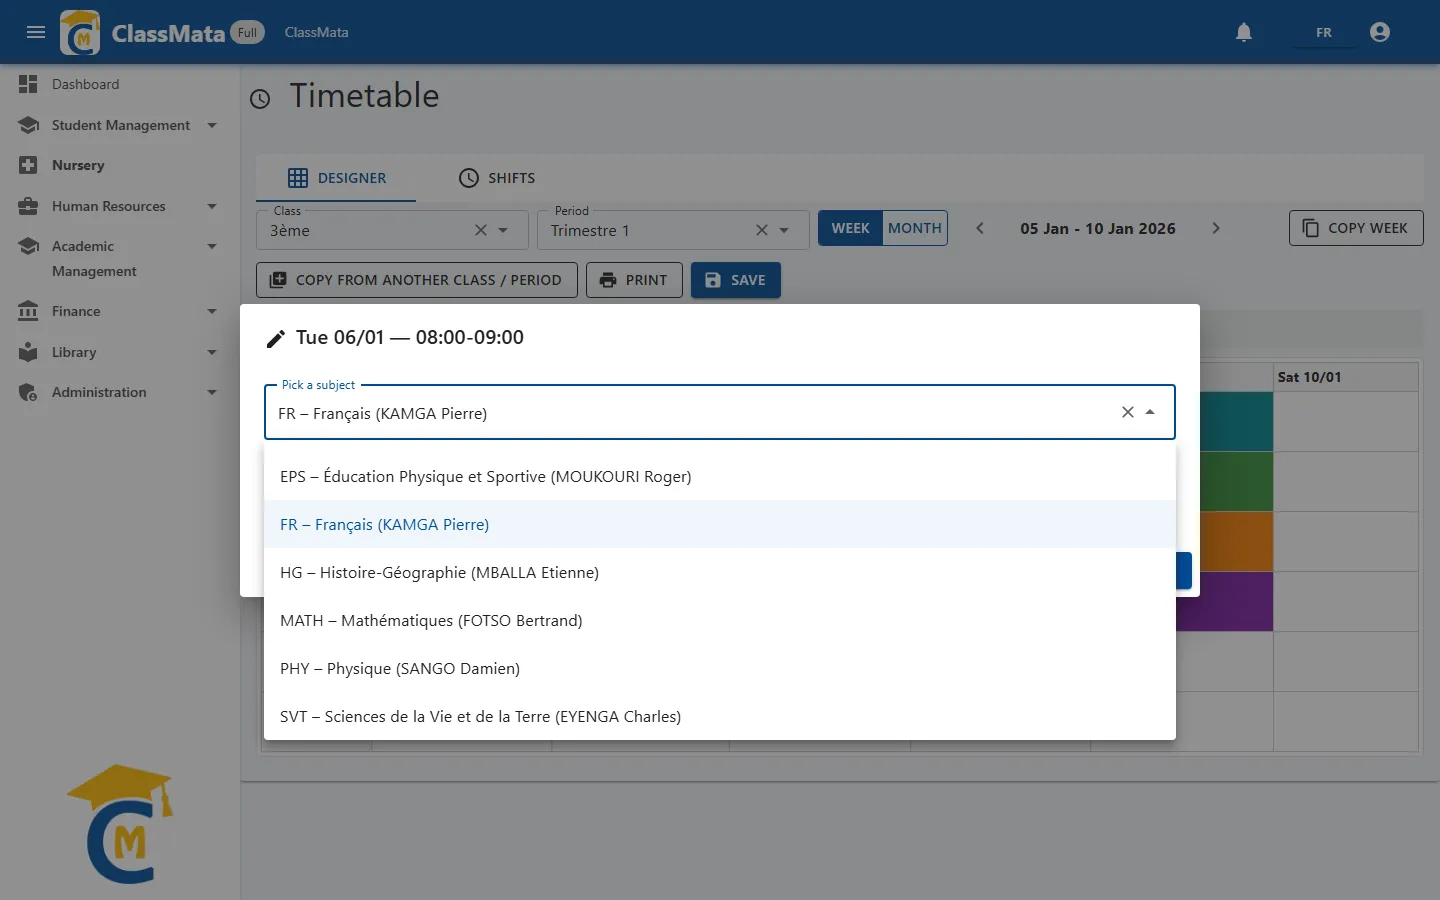
Pick a subject — the list offers the class's subjects, with their teacher. Choose "—" to leave the cell empty;
Room (optional) — one of the school's rooms, with its capacity.
The buttons: Save applies the choice to the cell, Clear cell empties it and Cancel closes the window without changing anything.
Nothing is stored until you click the toolbar's Save button. As soon as a cell is changed, an "Unsaved changes" badge appears above the grid (this badge and the Details button are always displayed in French).
Detect conflicts
After each change, ClassMata checks the planning and reports:
- Teacher conflict — the same teacher is placed on two lessons at the same time;
- Room conflict — the same room is used by two lessons at the same time.
The banner turns orange ("2 conflict(s) detected.") with a Details button listing each conflict (day, shift, kind), and the cells concerned get a red frame. Saving remains possible, but it is better to fix conflicts first.
Month view
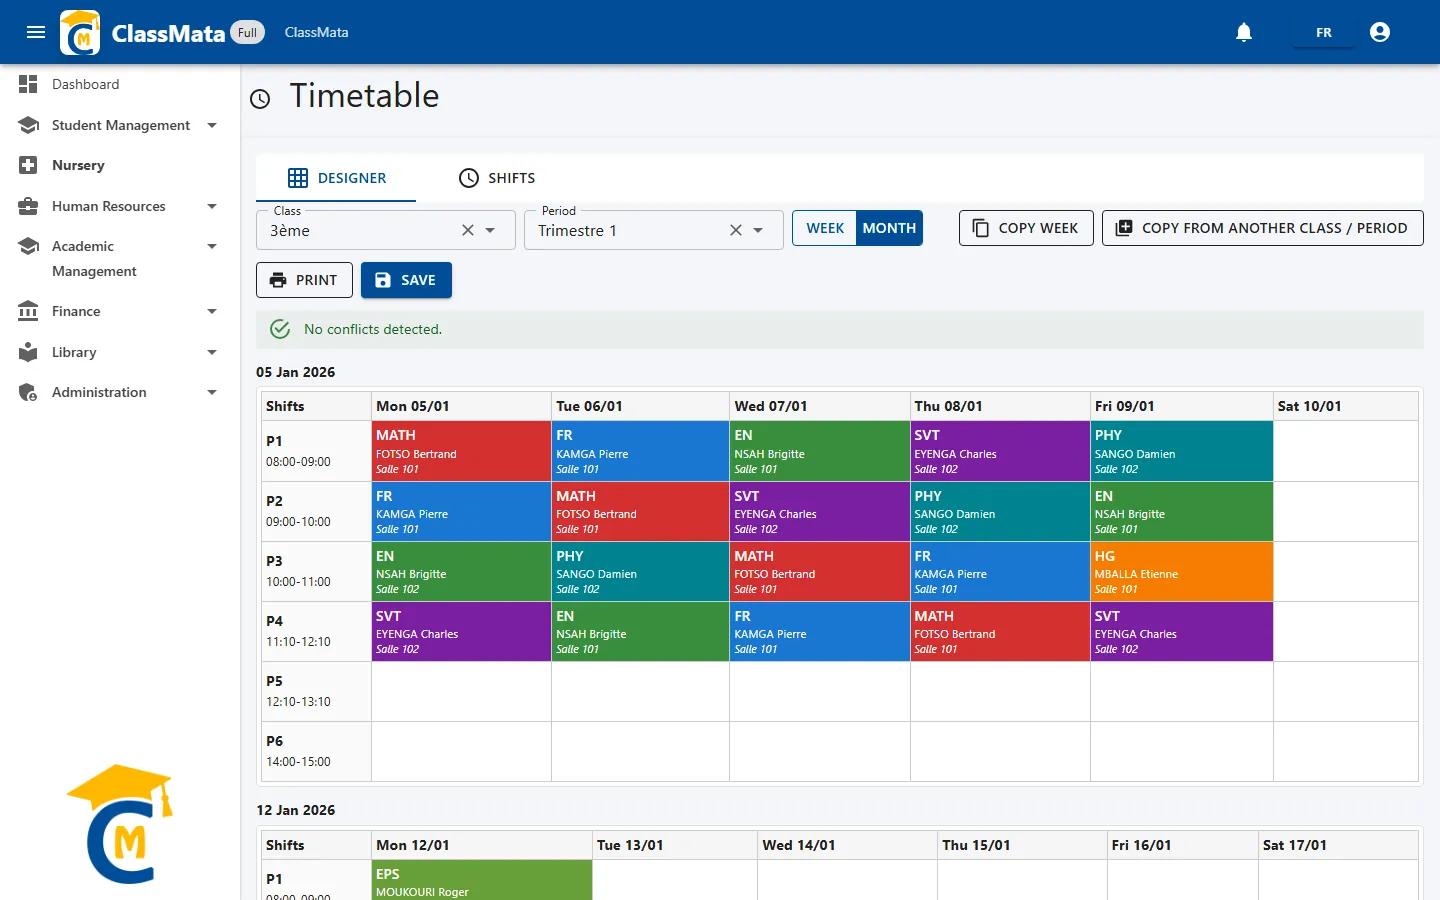
The Week / Month selector switches to a view that stacks several weeks one after another to give an overview.
Save time: copy and print
Copy week
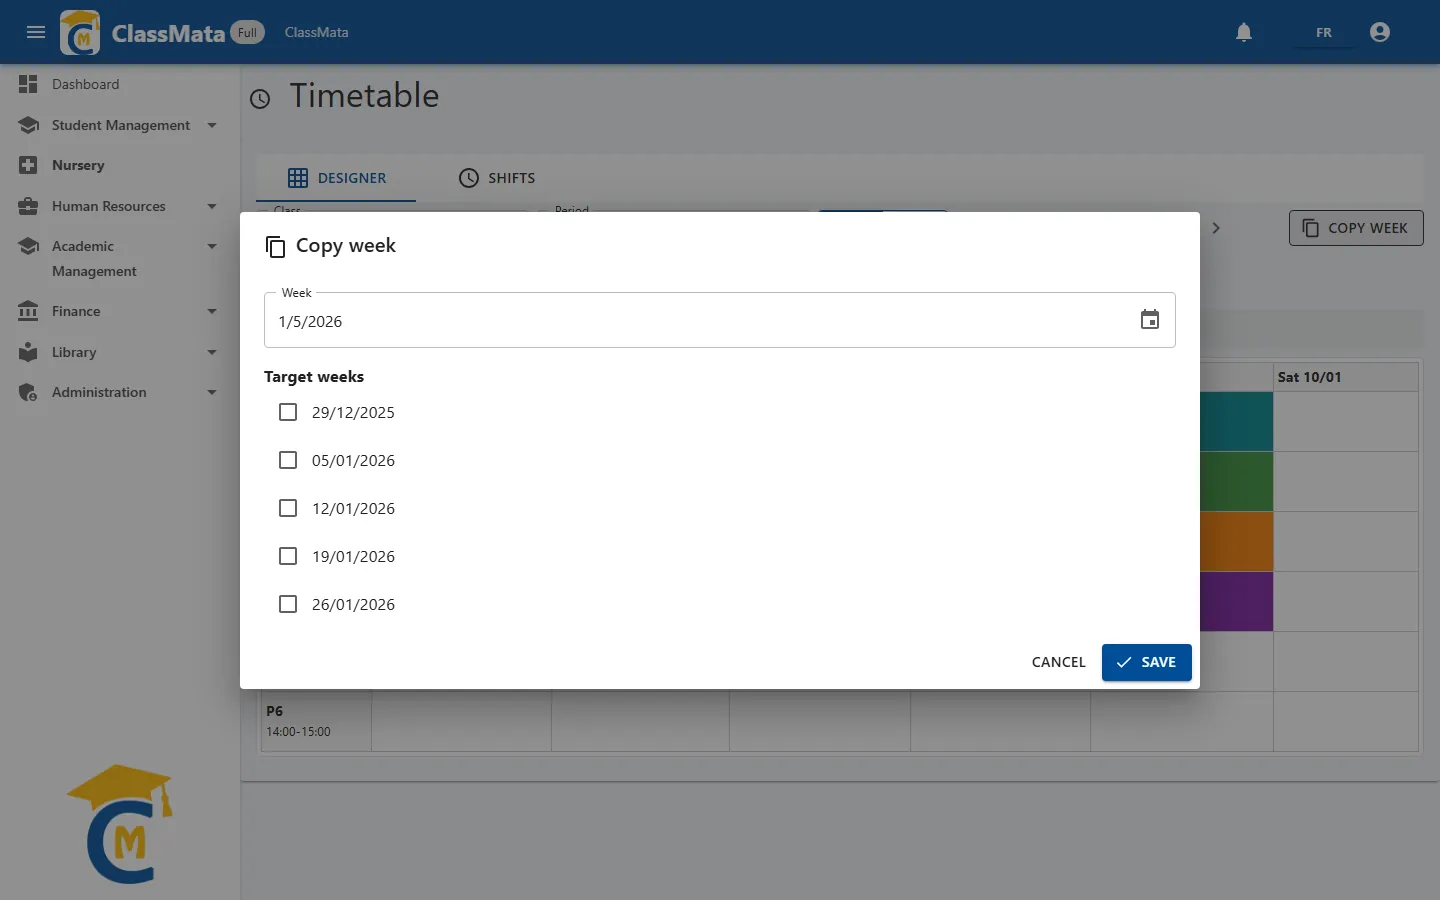
Copy week reproduces a week you have already built onto other weeks of the period: choose the source week with the calendar, tick the Target weeks in the list, then confirm. The operation is applied immediately.
Copy from another class / period
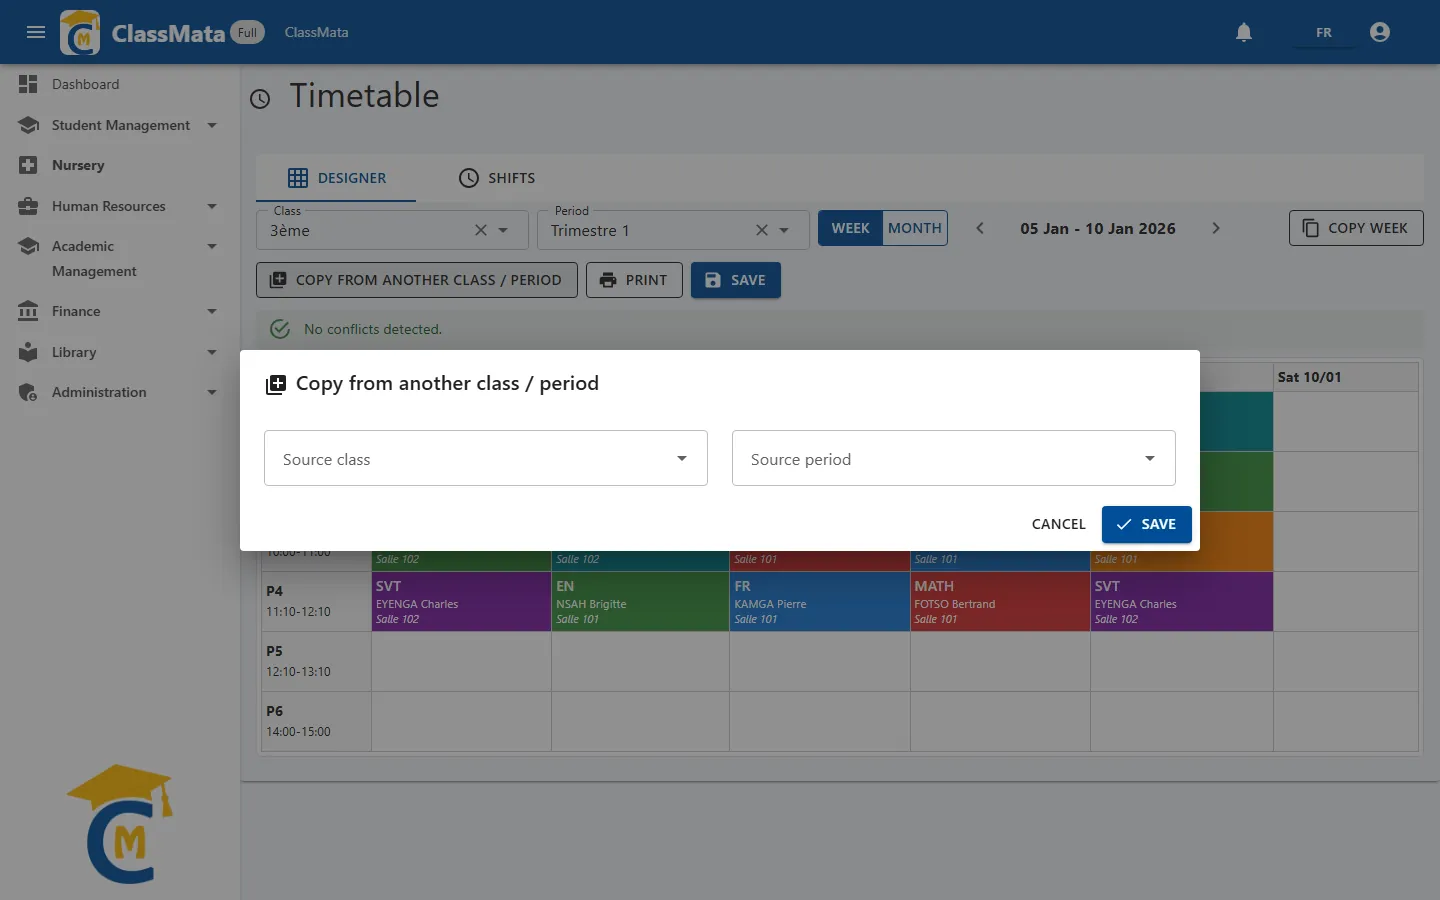
Copy from another class / period takes an existing timetable (a Source class and a Source period) for the class and period currently displayed — handy from one term to the next or between classes of the same level. If the source has no timetable, the message "No data for the moment" is shown.
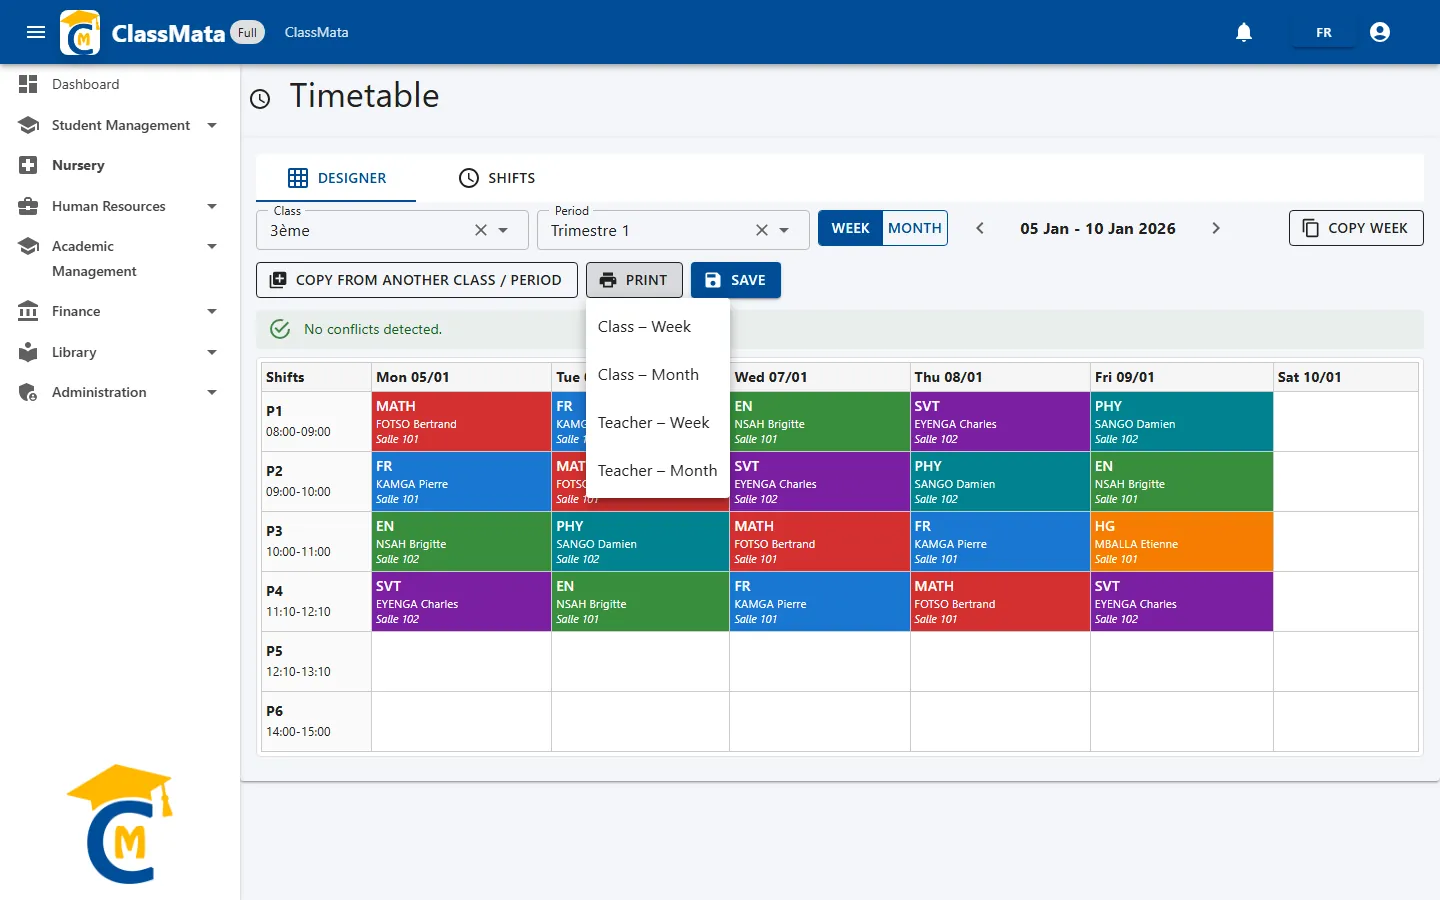
The Print menu offers four editions: Class – Week, Class – Month, Teacher – Week and Teacher – Month. For the last two, a window first asks you to choose the Teacher.
Shifts
The Shifts tab defines the day's time slots (P1, P2…), the same for every class.
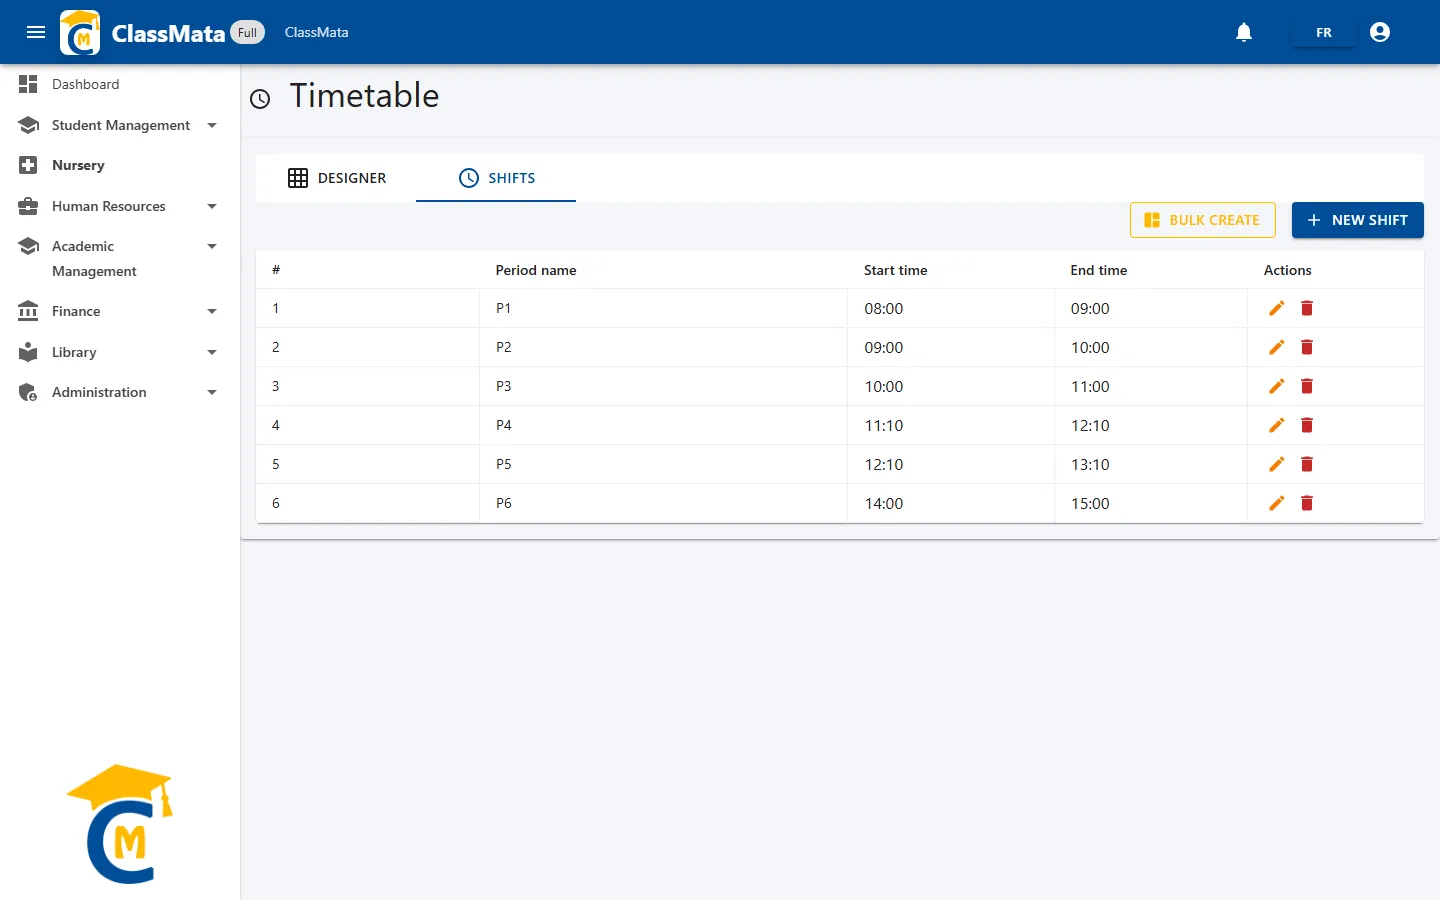
The table gives each shift's order number (#), name, Start time and End time, with a pencil to edit and a trash can to delete.
Add a shift
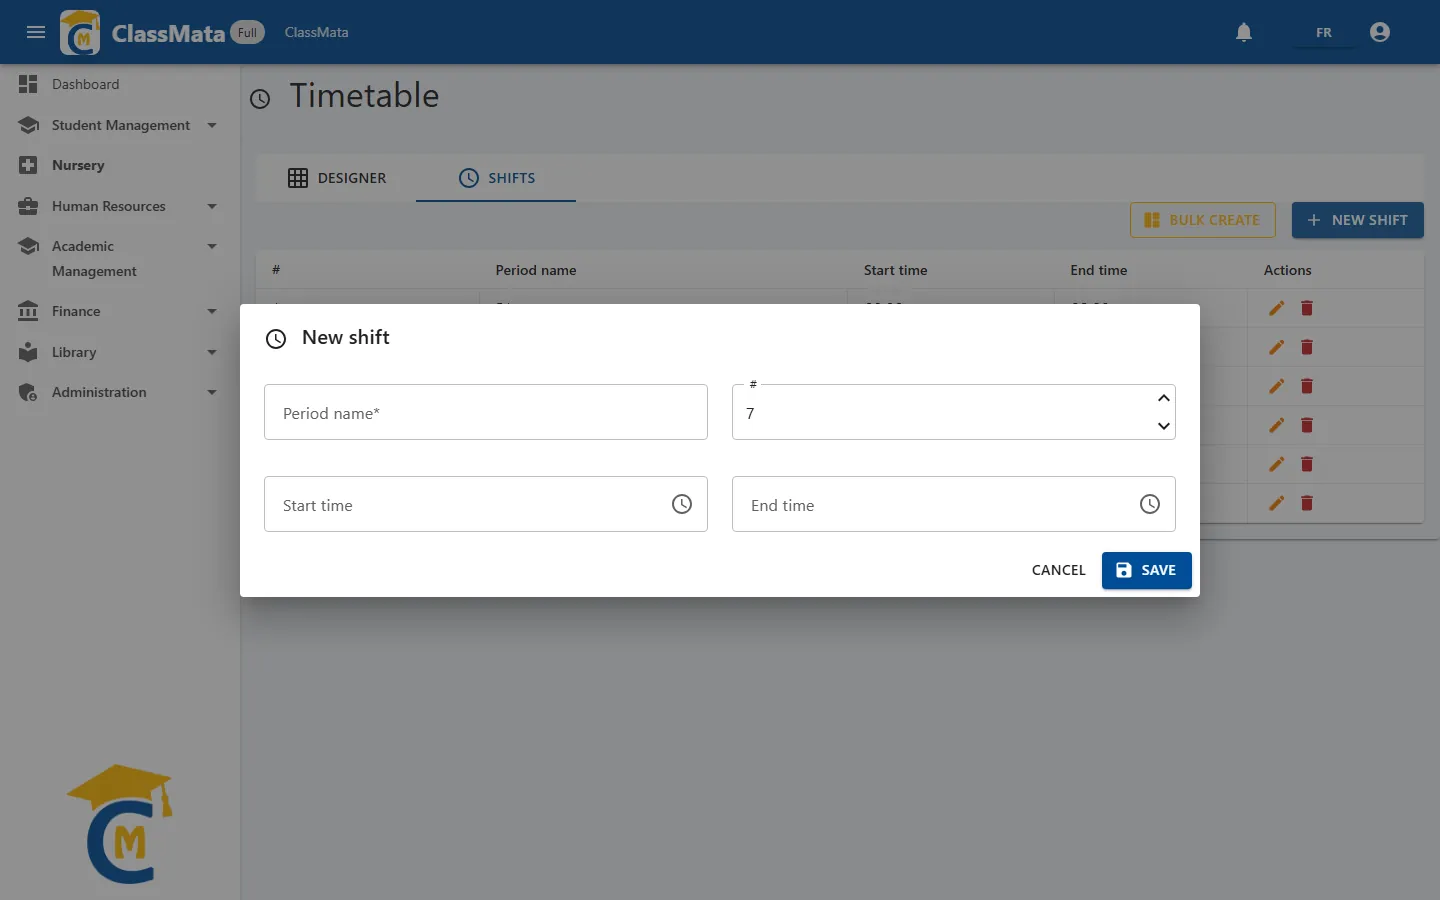
New shift asks for a name (required, for example "P1"), an order number (#, suggested automatically) and the start and end times (required).
Bulk create
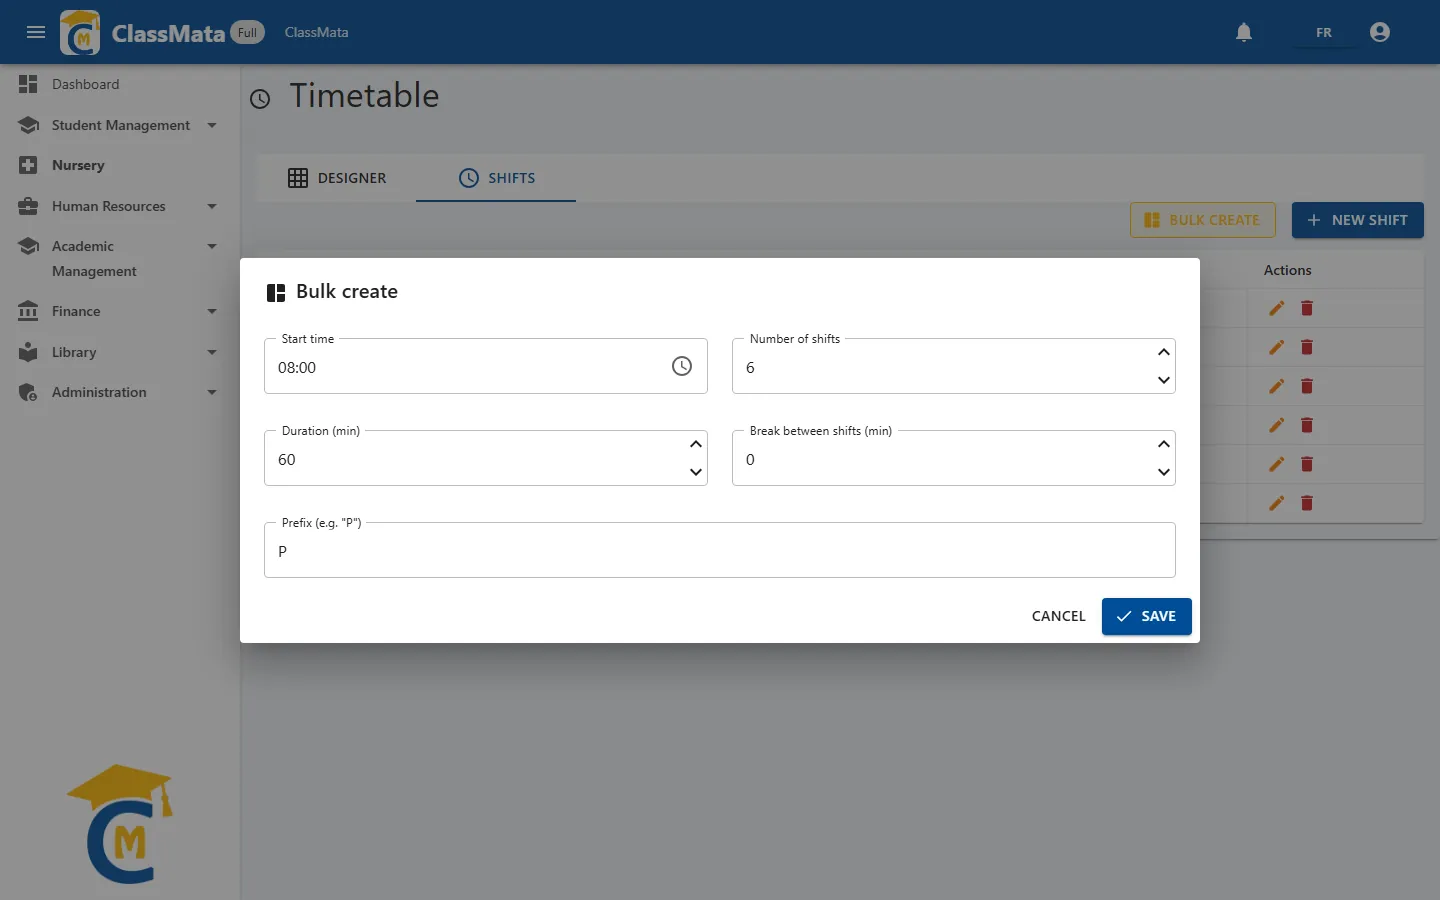
To define a whole day at once, Bulk create generates a series of shifts from:
- the Start time of the first shift;
- the Number of shifts;
- the Duration (min) of each;
- the Break between shifts (min);
- a Prefix for the name ("P" gives P1, P2, P3…).
For example, 6 shifts of 60 minutes with no break from 08:00 give P1 08:00-09:00, P2 09:00-10:00… up to P6 13:00-14:00.
Last updated: