Settings
The Settings page gathers the settings specific to your school: its logo, the registration rules, mark entry, the payment rules and banks, the receipt templates and the e-mail setup. Accessible from Administration → Settings.
Permissions. The page requires access to Administration and the Edit Application's settings permission (see Role Management).
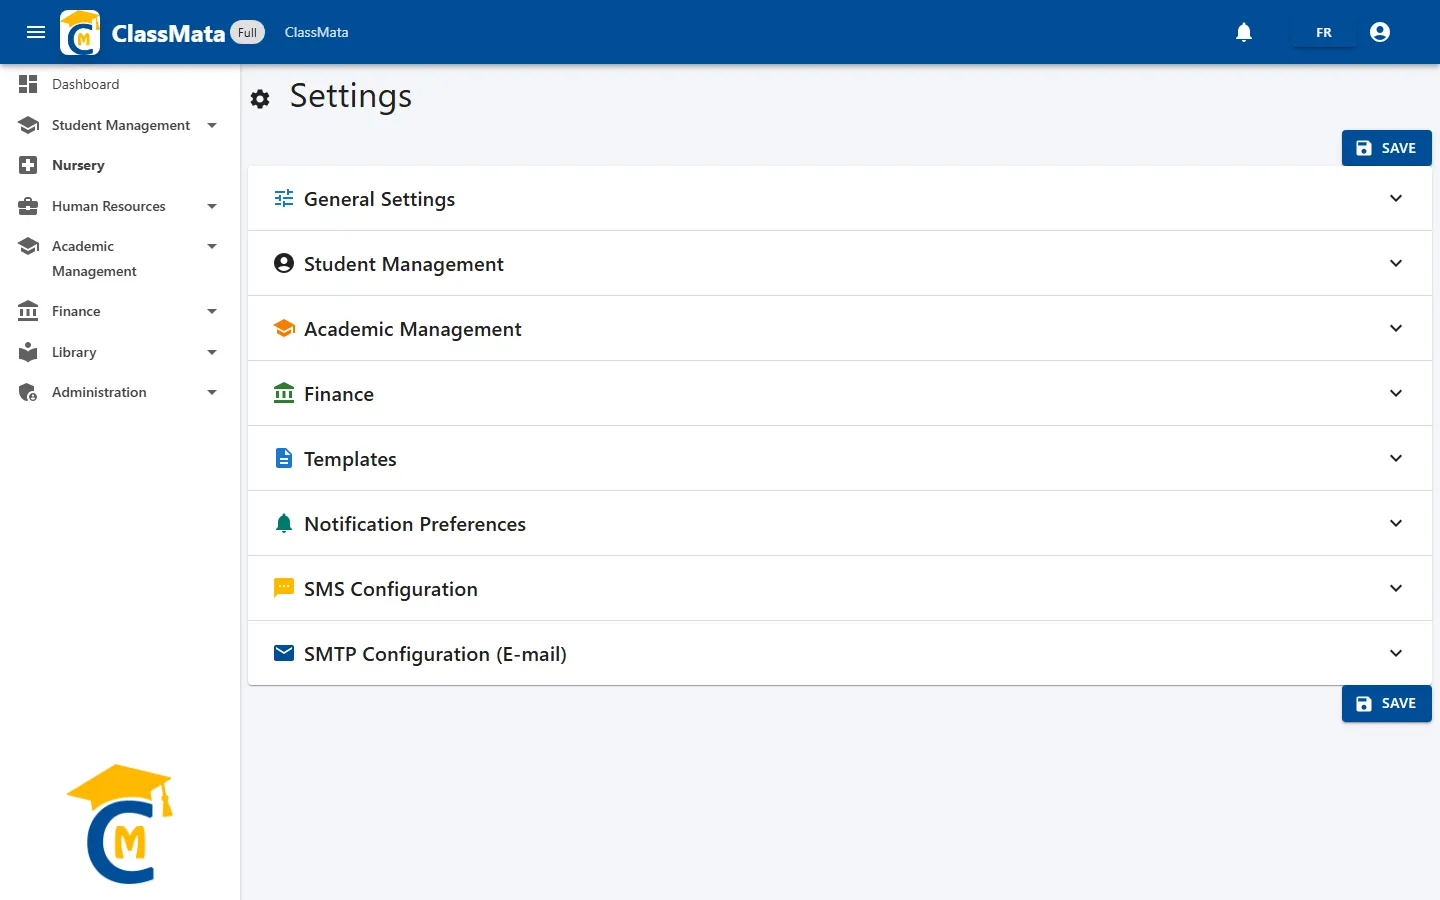
The page is made of eight panels that you open one by one (several can be open at once). The Save button, repeated at the top and bottom of the page, saves every modified setting at once.
Save or not? The check-boxes, the logo and the e-mail setup only count after you click Save. The exceptions are the banks (each addition, edit or deletion is immediate) and the activation of a receipt template (also immediate).
General Settings: the logo
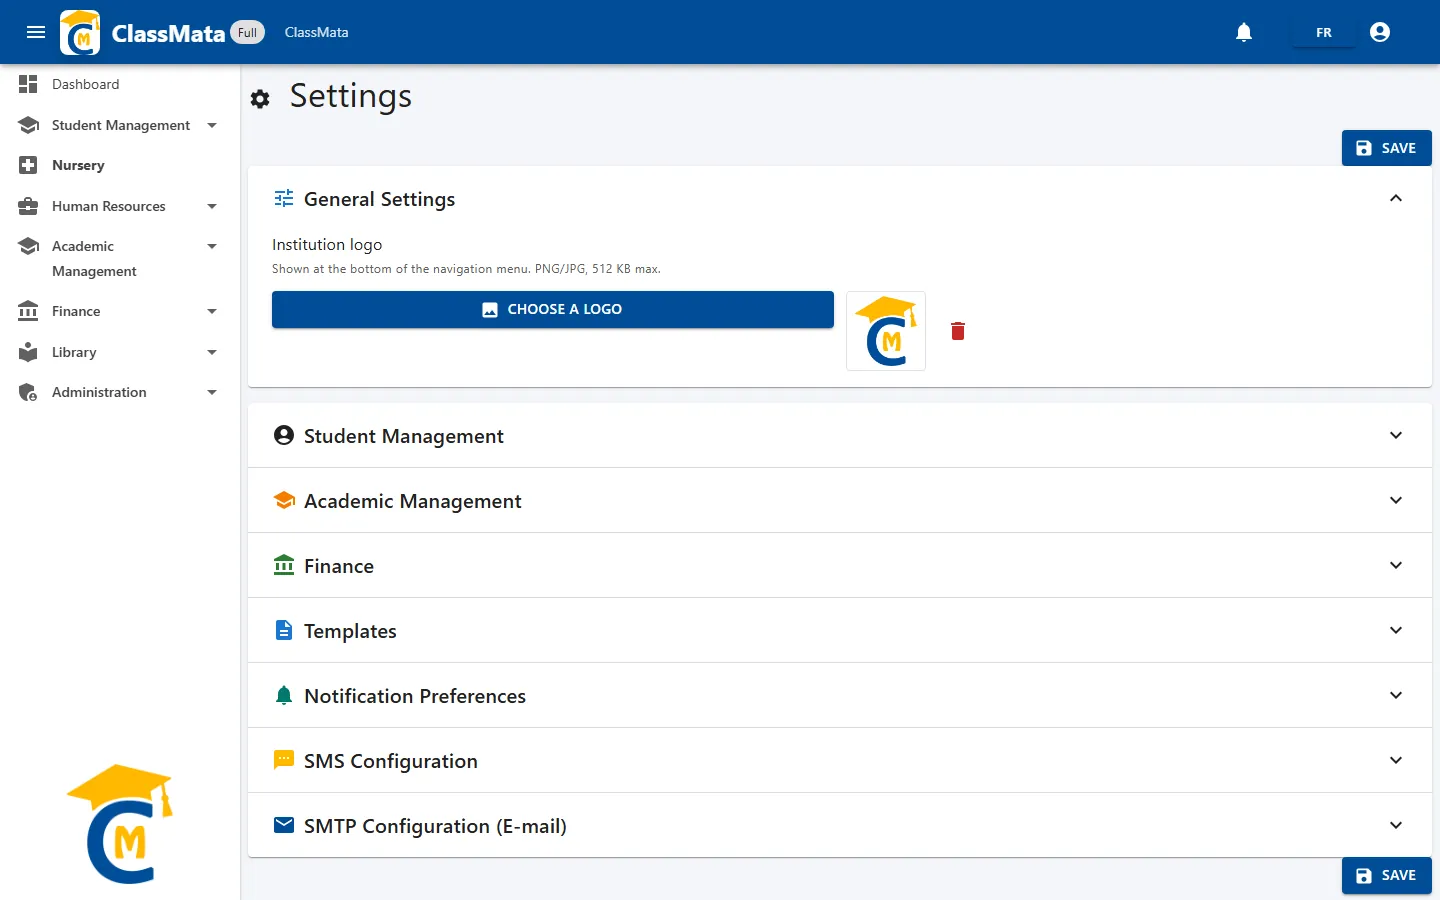
Choose a logo loads the school's image (PNG or JPG, 512 KB at most, otherwise: "Image too large (512 KB max)."). It is previewed next to the button, and shown at the bottom of the navigation menu once the settings are saved. The red trash icon removes the logo.
Student Management
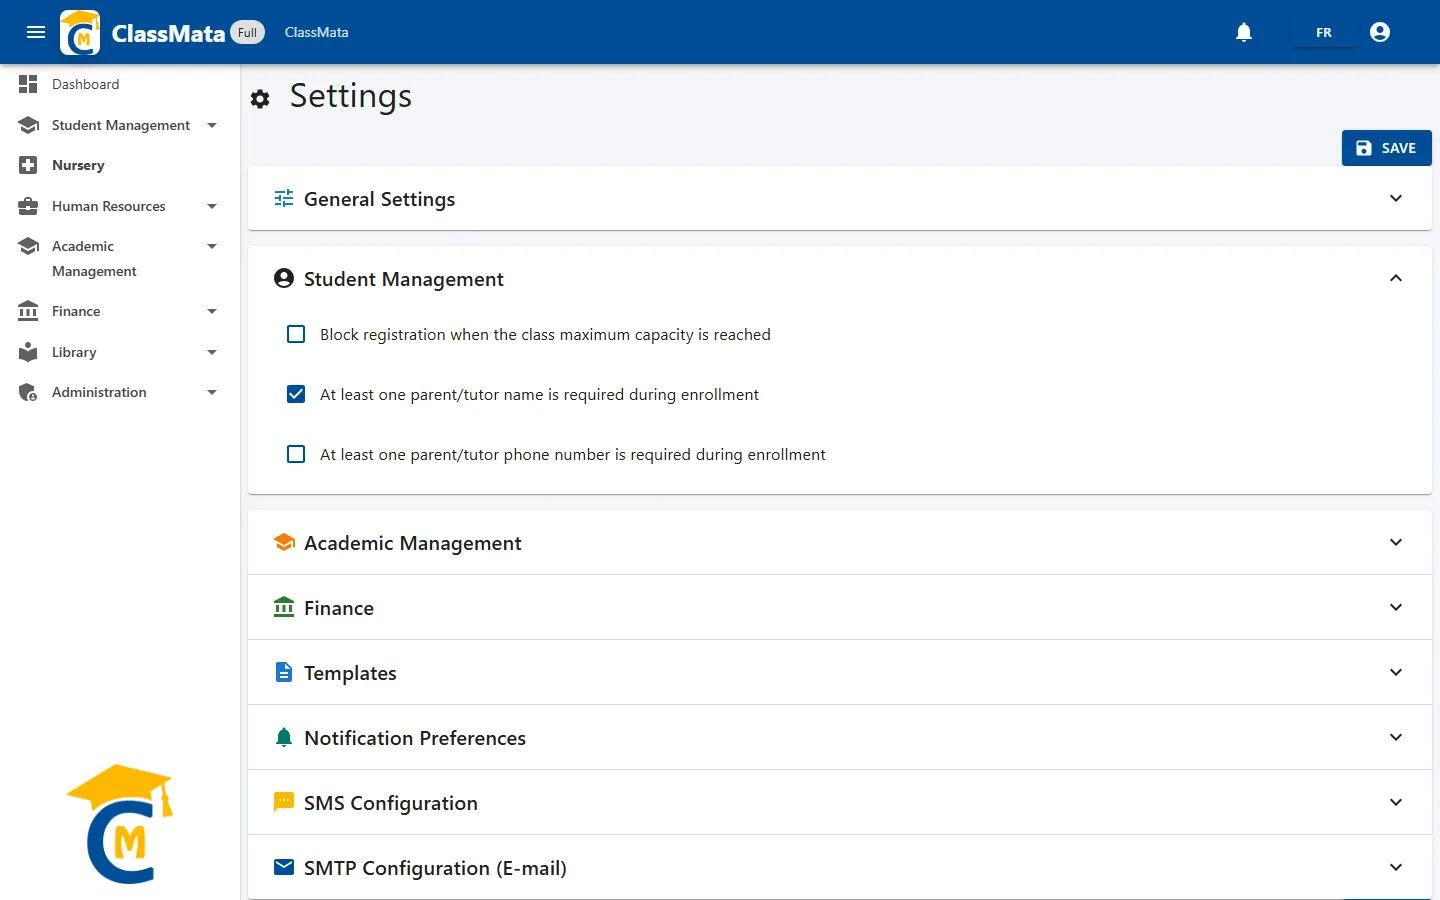
Three rules that apply when a student is registered (see Students):
- Block registration when the class maximum capacity is reached: no more students can be registered in a full class;
- At least one parent/tutor name is required during enrollment;
- At least one parent/tutor phone number is required during enrollment.
Academic Management
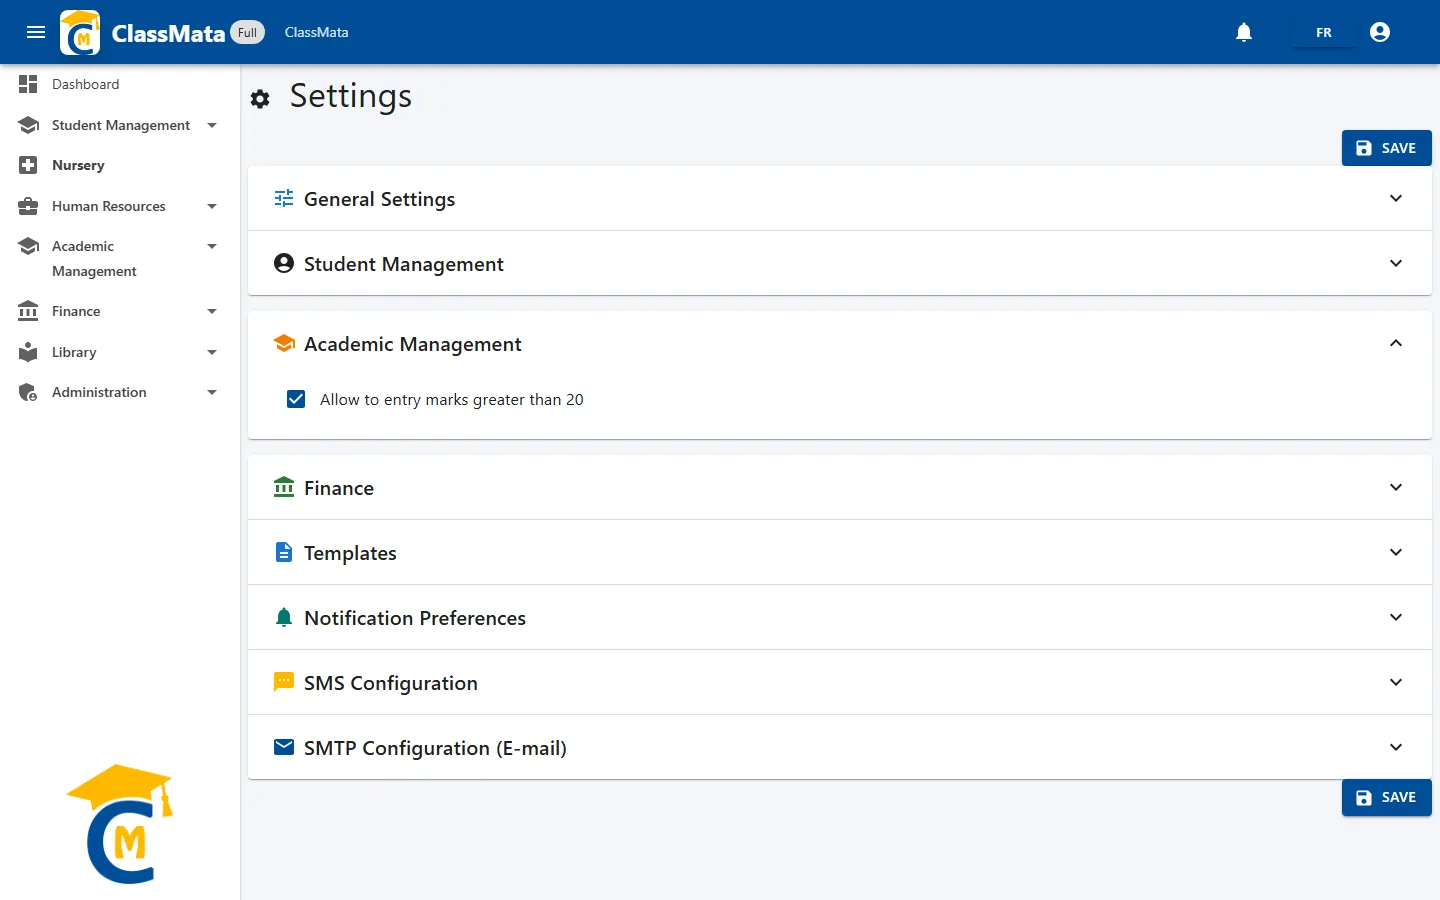
Allow to entry marks greater than 20 lets marks be entered out of 20 × the subject's coefficient. See Mark Entry for the details.
Finance
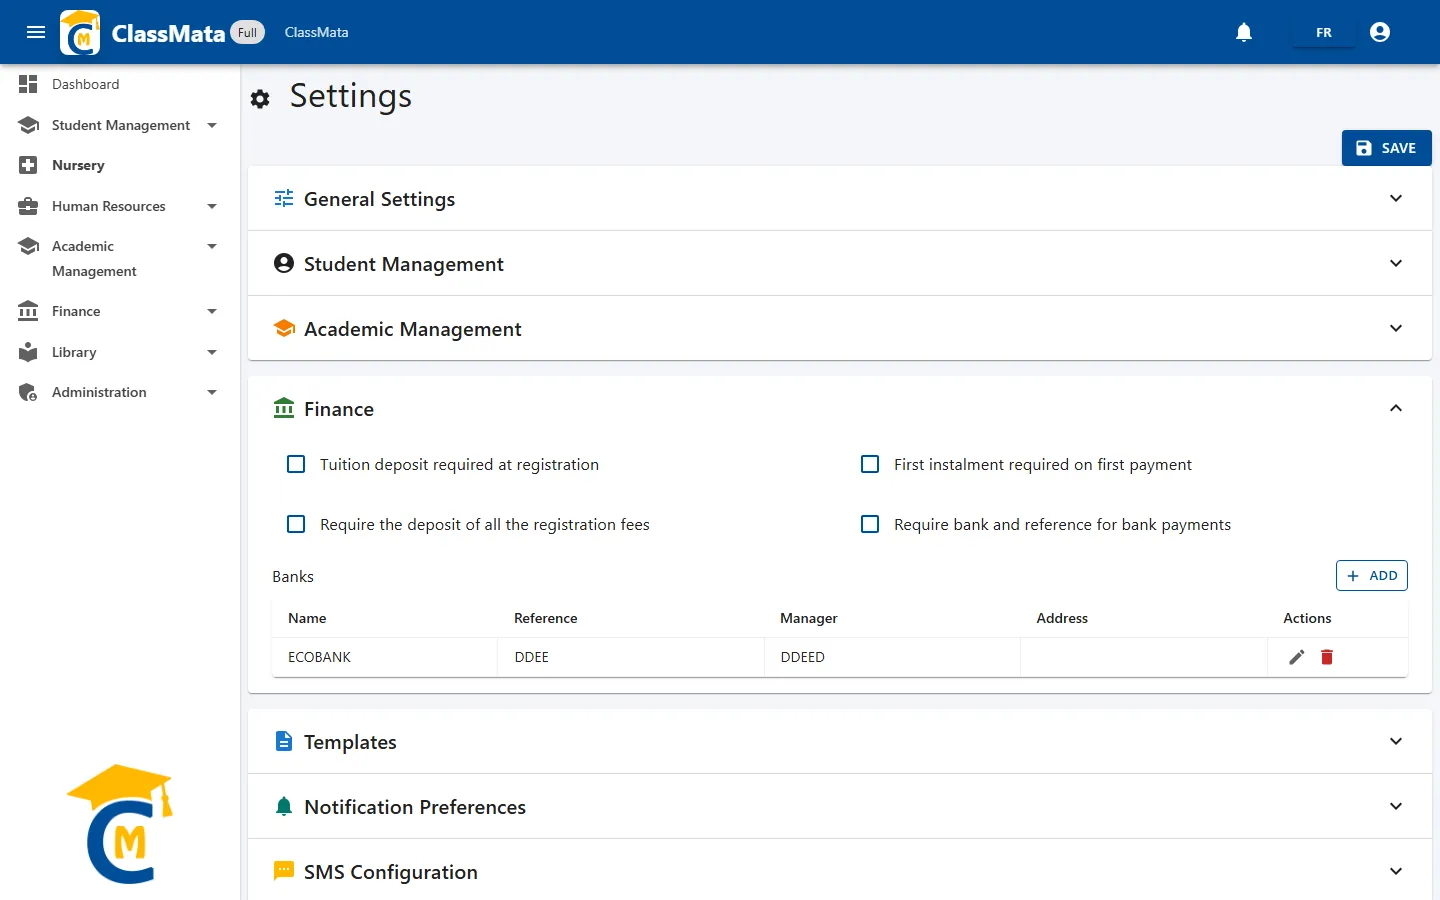
Four payment rules and the list of banks.
| Setting | Effect |
|---|---|
| Tuition deposit required at registration | A payment is required when a student is registered, even if the amount entered is zero. Only acts together with "Require the deposit of all the registration fees" |
| First instalment required on first payment | The minimum payment at registration also includes the first tuition installment (up to the tuition due) |
| Require the deposit of all the registration fees | Turns on the check of the minimum payment at registration: registration fees and other required fees (plus the first installment if it is compulsory), after scholarships. If the payment is lower, registration is refused with "The initial payment must be at least … CFA" |
| Require bank and reference for bank payments | A bank payment must give the bank and its reference, at registration as well as in Transactions |
These settings rely on the fee structures and their installments.
Banks
The Banks list gives the banks offered when a payment is made through a bank: Name, Reference, Manager and Address.
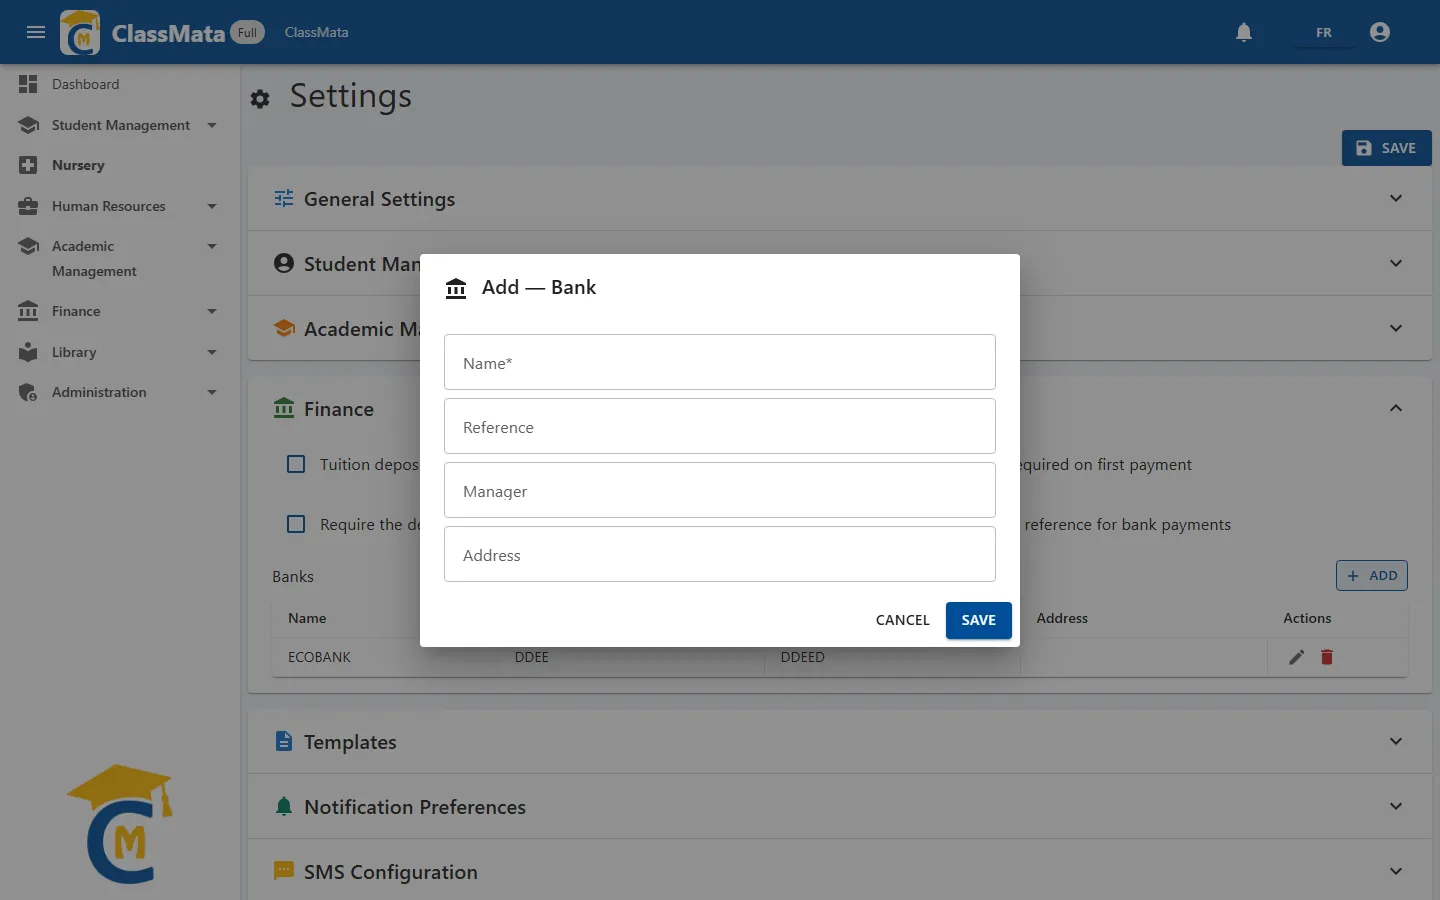
Add opens the form (only the name is required). The pencil edits a bank, the trash deletes it after confirmation. A bank that already appears on receipts cannot be deleted.
Templates
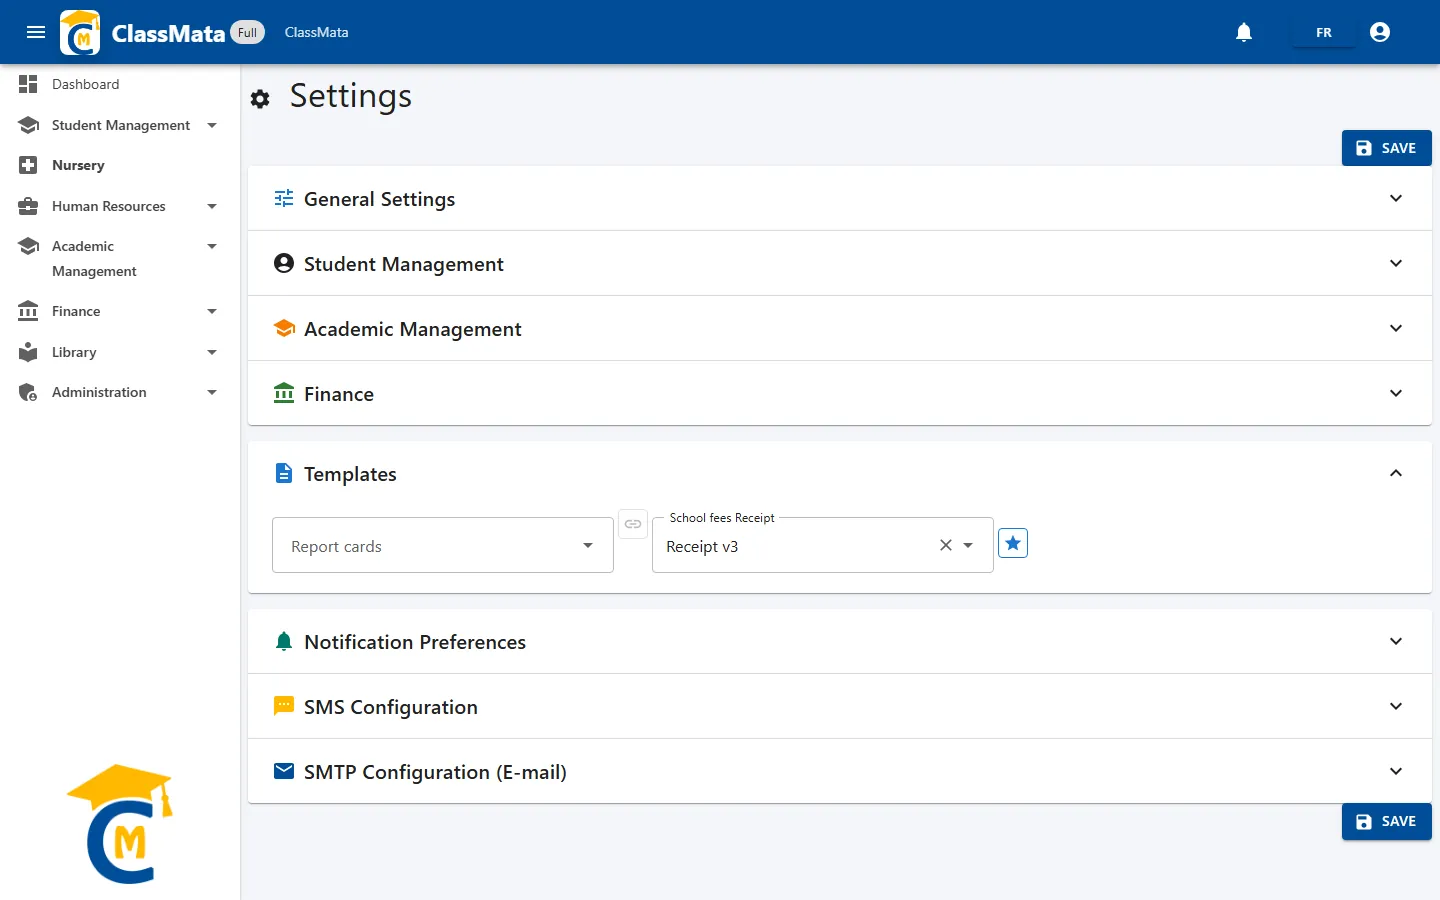
This panel holds two lists:
Report cards: the available report-card templates, for example "Bulletin v1 (Primaire 1)". Their management (adding, editing, linking to classes) is done by the ClassMata team; the list is there to browse them.
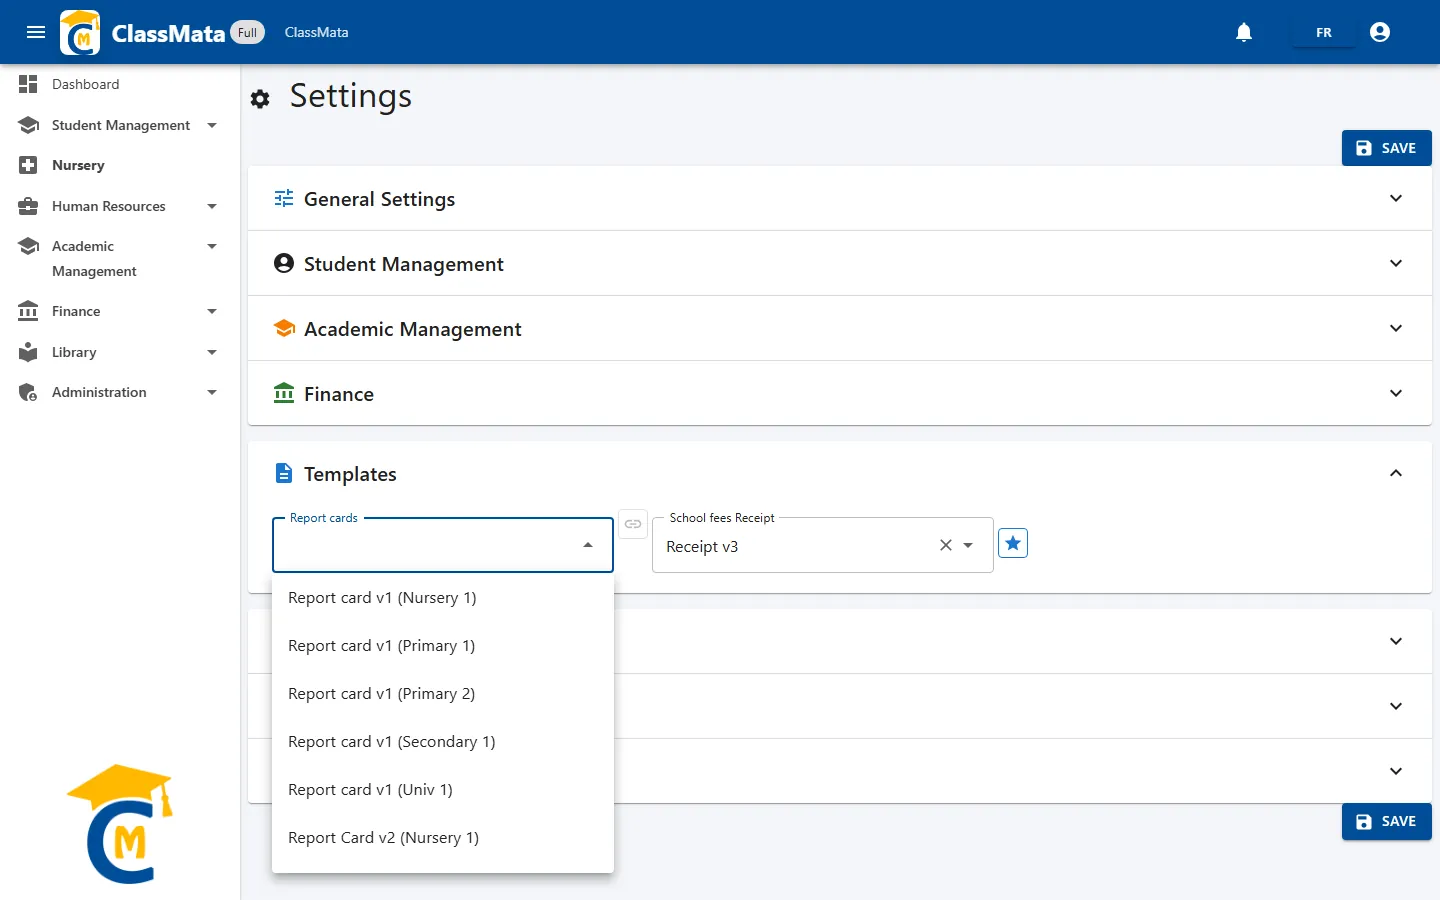
School fees Receipt: the tuition receipt templates. The one with the star is the active template, used to print every receipt (see Transactions). To change it, choose another template then click the star button (Activate): the change is immediate.
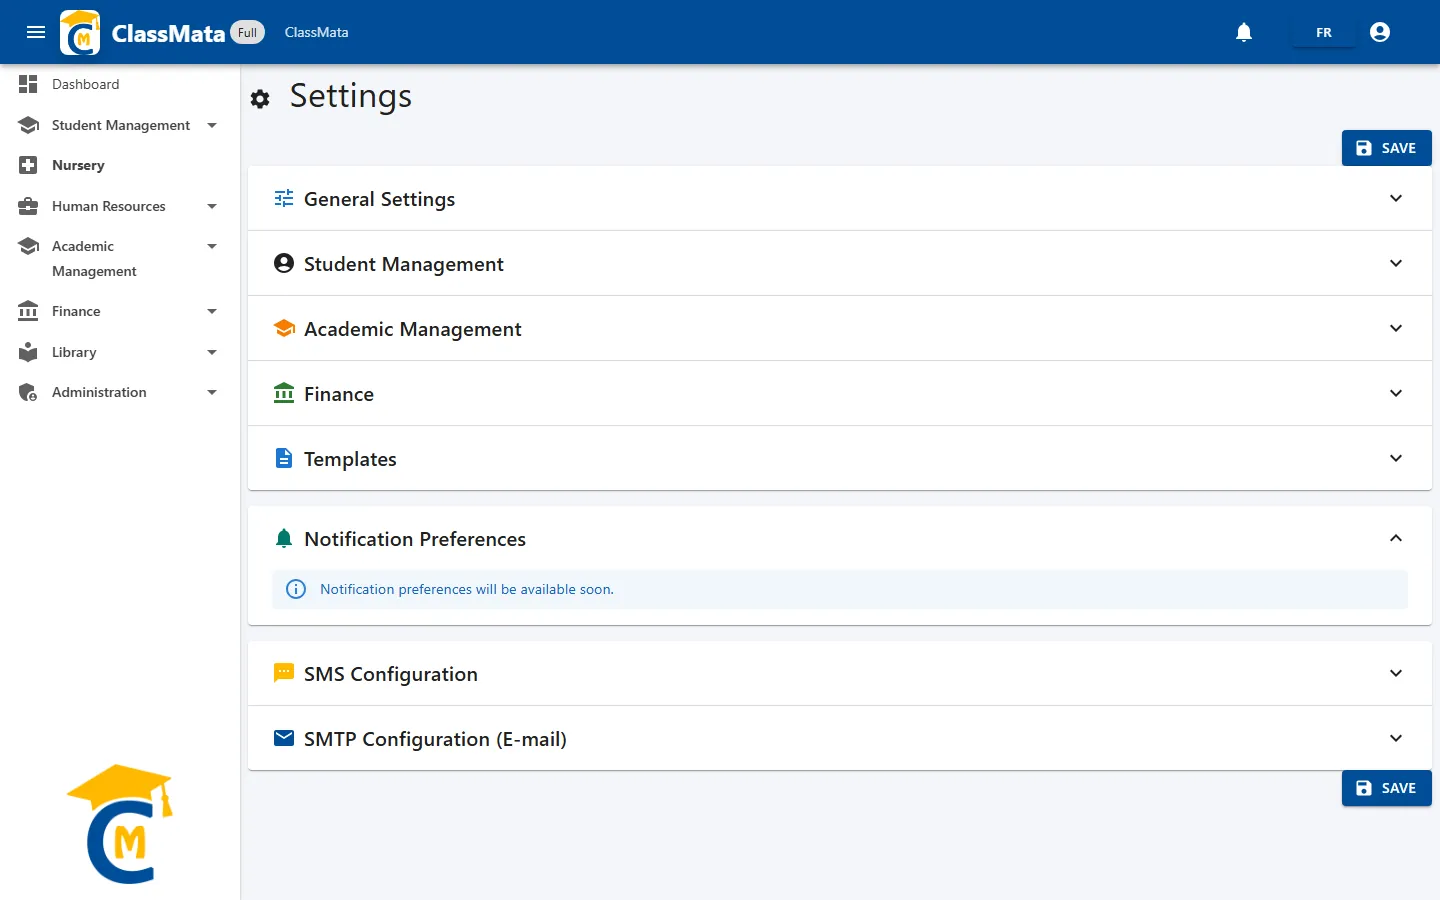
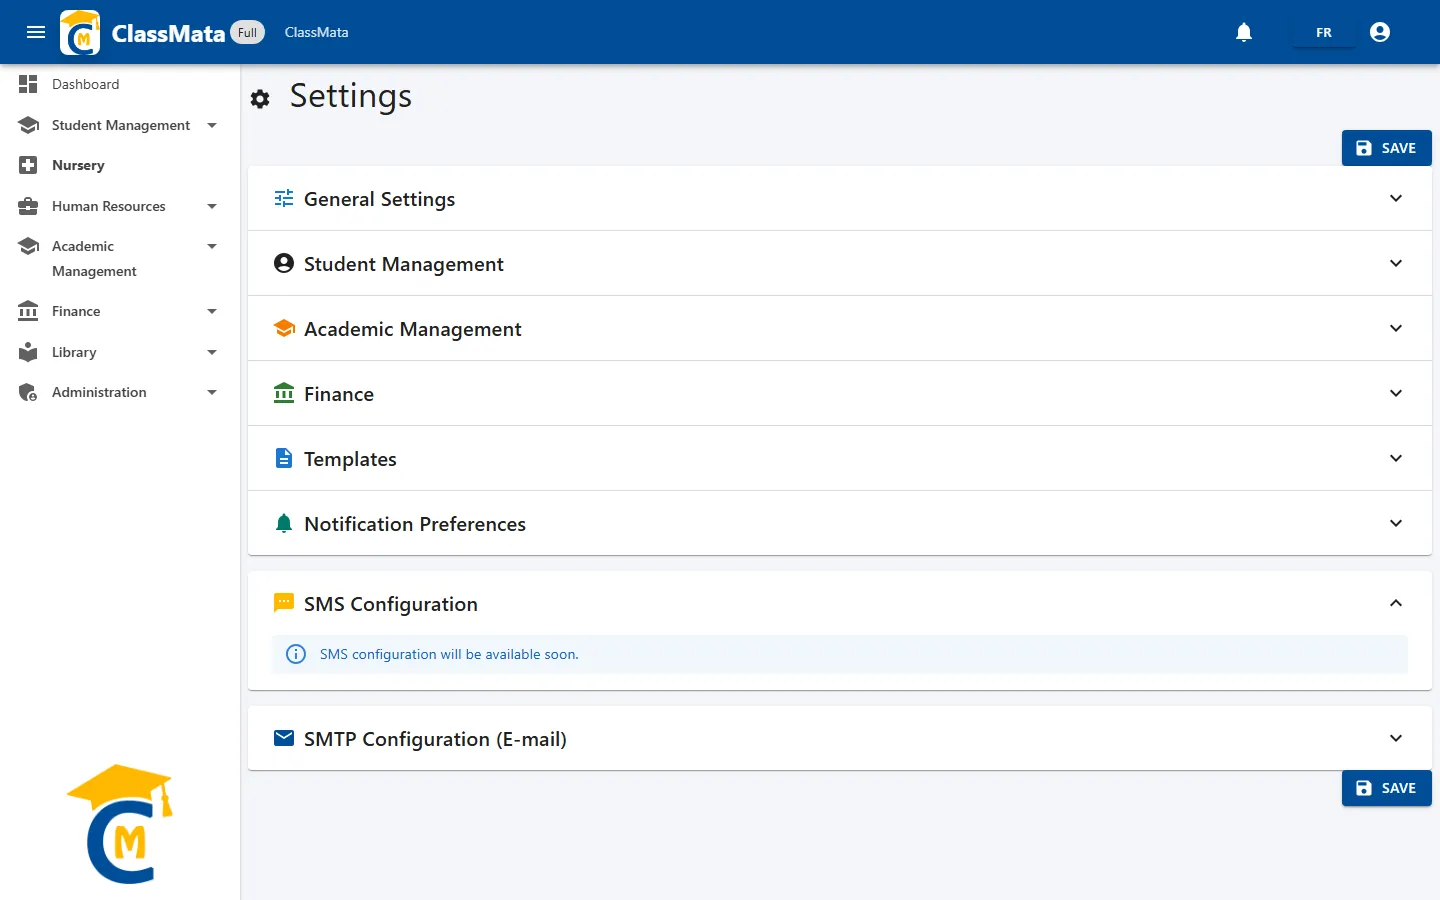
Notification Preferences and SMS Configuration
These two panels only announce that notification preferences and SMS configuration "will be available soon".
In the meantime, the messages sent to users are set with the notification templates.
SMTP Configuration (e-mail)
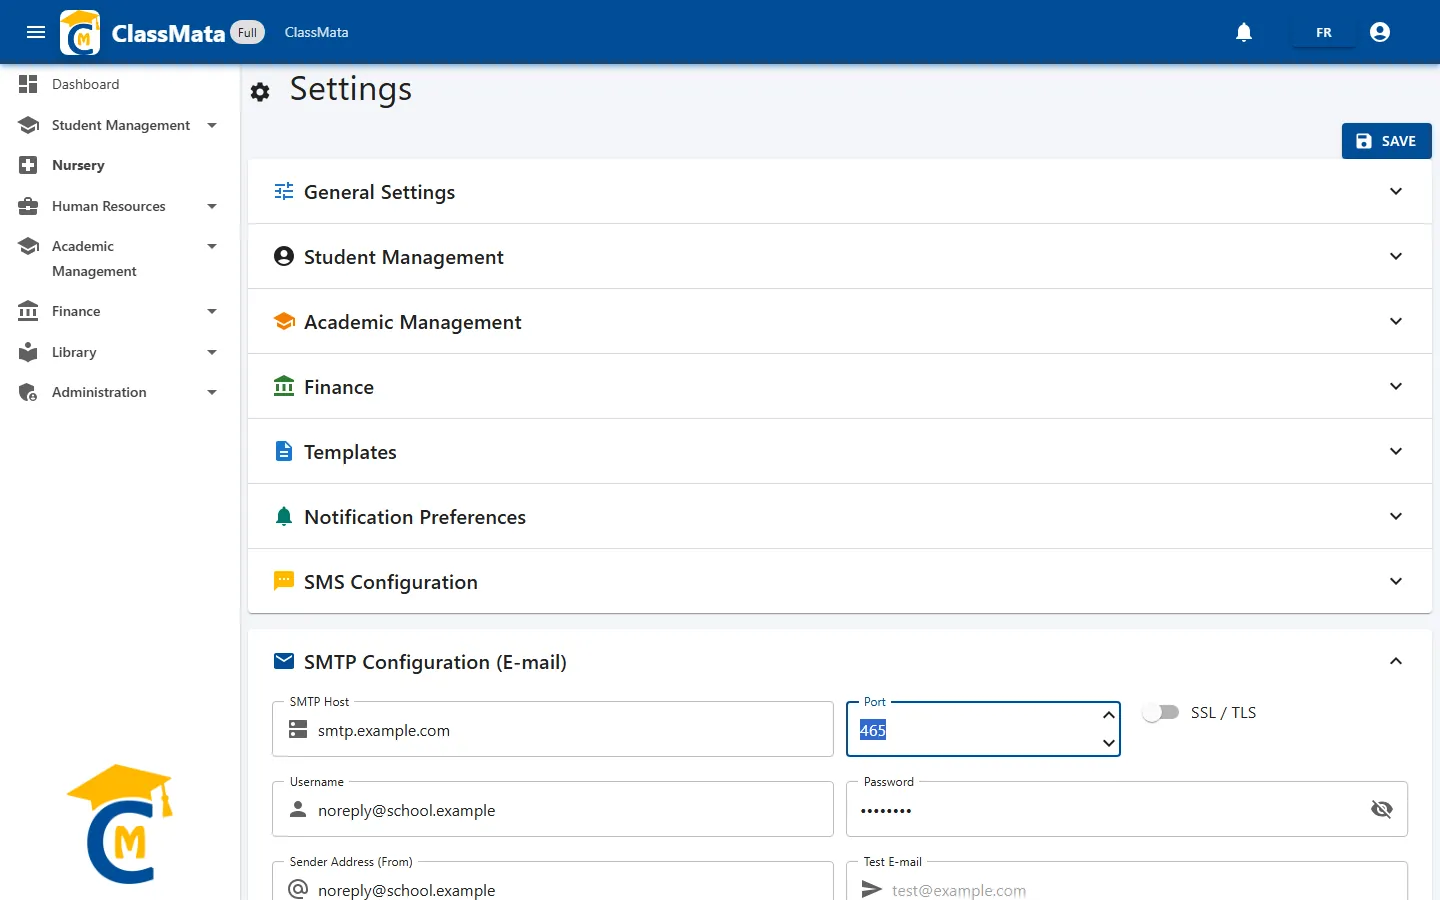
This panel gives ClassMata the account used to send e-mails (e-mail notifications).
| Field | Content |
|---|---|
| SMTP Host | Address of the sending server (for example smtp.gmail.com) |
| Port | Server port (1 to 65535) |
| SSL / TLS | Turn on if the server requires an encrypted connection |
| Username | Account login (often an e-mail address) |
| Password | Account password. The eye shows or hides it |
| Sender Address (From) | Address shown as the sender of the messages |
| Test E-mail | Address that will receive the test message |
The Test button sends a test message to the Test E-mail with the values shown, without having to save first: "Test e-mail sent successfully!" confirms the setup, "Send failed. Check your settings." means a field needs correcting (host, port, SSL, credentials). Remember to click Save afterwards.
Last updated: